Promoting Your Photos
For years, I’ve wanted a way to create small “mini-portfolios” to use as promotional mailers. I was initially scared away by the cost: one quote for a 24-page bound booklet was in the $25,000-30,000 range.
After seeing several of my neighbor’s iPhoto books of their vacations, I was taken by the idea of publishing my own promo books, using iPhoto. About two years ago, I created a book using the new iPhoto softcover books, which could be printed in an 8” x 6” horizontal format. I decided to finally try my hand at it.
I sent in photos for two books: one in sRGB and one in Adobe 1998 RGB, and I was stunned. The books came out exactly the same, and the color was virtually dead on. The one problem was resolution; it just wasn’t as sharp as I would have liked. I then found out from a friend about how to change some of the code to increase the DPI. That made a world of difference. Now my pictures had brilliant color and sharpness. I felt like such a computer geek.

The next trick was abandoning the pre-set layouts in iPhoto. The layouts work great for some applications, but I’m a complete control freak — I wanted to create my own layouts and use my own fonts, colors, etc.
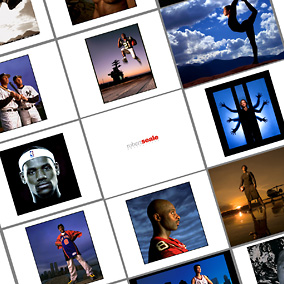
I began by creating blank Photoshop documents, (11 x 8.5, 300 DPI, white background). I then began resizing, copying and pasting my photos onto the blank Photoshop pages, experimenting with squares, verticals, multiple photos, and even full-bleed horizontals.
I created a title page, bio page, and contact page using blank white pages in Photoshop and adding my logo and text, carefully matching the colors and fonts on my business cards and web site. This was an easy step, and it turned out great on the first try.

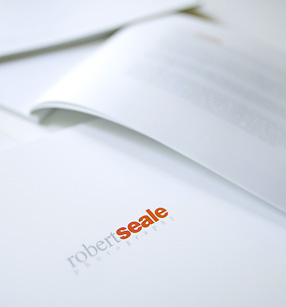
The final problem was deciding what to do about the cover. I didn’t care for the cutout covers on the large books, so that was part of my reason for going with the medium size softcover books. I would have loved to have the full blank canvas of the book cover to work with, but because they are designed to have a photo in the top module and cover type in the lower module, I had to figure out a work-around. I started by ditching the title type. I had no idea if the book would still come out with a blank square block in that module, but as it turned out, deleting the cover type and leaving the picture module empty resulted in a clean white cover.
For the next book, I pasted in my logo on a white field in the cover photo module. The logo reproduced well, but it took a couple of more tries before I was able to place it in the optical center.
I’ve gotten great reactions from art directors and photo editors who’ve seen the books. Usually, I show my full-size portfolio and then use the photo books as a “leave-behind.” I have made first contact by mailing them to potential clients in lieu of the traditional postcard, and that has also worked out well.
I’m making books in Aperture now and they are the same as the iPhoto books, except for the omission of the Apple “Made on a Mac” logo on the Aperture books, which make them look a bit more professional. These books are also at 300 DPI, which is all the resolution I need.
Aperture, as well as the newest version of iPhoto, size all photos at 300 DPI rather than 150 DPI, so the work-around mentioned earlier no longer applies.


